The Microsoft .NET Framework is a programming framework created by Microsoft that developers can use to create applications more easily. Occasionally the .NET Framework will stop working; usually due to a software bug introduced in Windows updates. This guide will walk you through the steps of repairing the .NET Framework so you can continue to use your apps.
Step 1 – Identify your .NET version
Before continuing, you will need to establish exactly which version of the Microsoft .NET Framework you have installed. This information is available in Add or remove programs, accessible from the Control Panel. You will usually be running Microsoft .NET Framework 1.1, 2.0, 3.5, 4.0 or 4.5
SingularLabs products require Microsoft .NET 3.5 or newer.
Repairing Microsoft .NET Framework 4.0
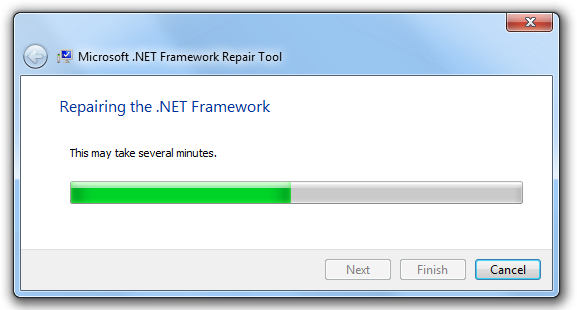
Microsoft have released a repair tool to fix corrupting installations of .NET 4.0. It is available for download on the Microsoft website. Run run the repair tool and accept the license agreement. The tool will attempt to automatically diagnose and fix issues with your .NET 4.0 install.

The Microsoft knowledgebase article pertaining to this tool provided the following information.
The tool may make one or more of several possible changes to the installed product. For example, it may correct the state of Windows Installer on the computer, reset the DACLs on certain folders, or resolve some issues that are related to invalid or corrupted update registration.
The tool follows a four-step process:
Try to troubleshoot the issue.
Apply the fixes (with user consent).
Try to repair the .NET Framework 4.
Collect logs (with user consent).
If this tool doesn’t correct your issue, you may need to try some of the repair steps listed below.
How to repair older .NET Framework versions
Microsoft do not have a repair tool available for the .NET Framework 3.5 and older. The most reliable method of repairing them is by performing a clean re-install. First; attempt to remove all versions of the Microsoft .NET Framework using the standard uninstall procedure (Add or remove programs.) Restart your computer after each successful uninstall. Do not be concerned if the uninstall procedure fails – we will address this shortly.
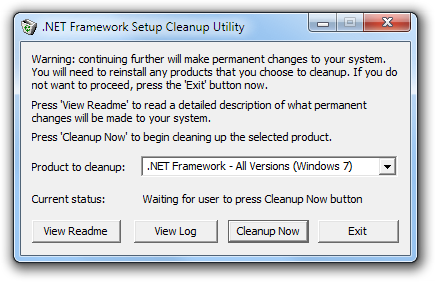
Download the .NET Framework Uninstall Cleanup tool from this address. You will need to extract the file from the .zip archive before continuing. Once the tool has been extracted, double-click (launch) the file cleanup_uninstall.exe with administrator rights. When the program opens, select Yes to the dialog that asks “Do you want to run the .NET Framework Setup Cleanup Utility” and accept the license agreement. You will see the following window.

Select the version of the .NET Framework that you wish to remove from the drop down menu. Press the ‘Cleanup Now’ button to begin the removal process. The tool will automatically remove all files, folders and registry keys associated with .NET Framework. Restart your computer when the tool has completed. You should now be able to install the Microsoft .NET Framework without issue. SingularLabs recommends installing the latest available version of the .NET Framework, as each new version is typically backwards compatible with software that requires an older version. At the time of writing; Microsoft .NET Framework 4.0 is the newest available version. .NET 4.0 is available to download here.
When you have completed the .NET Framework installation; make sure you check for updates using Windows Update. It’s important that you always have the latest security patches.